5 Unexpected Household Items That Make Incredible Art Supplies

Bubble Wrap for Textural Prints
Table Salt for Watercolor Effects
Old Credit Cards for Palette Knife Mimicry
Kitchen Sponges for Soft Blending
Used Coffee Grounds for Earthy Textures
The Myth of the Expensive Studio
There is a pervasive, often unintentional, myth in the contemporary art world: the idea that to create something "serious," you must first possess a studio filled with professional-grade tools. We see the high-end linen canvases, the imported sable brushes, and the expensive heavy-body acrylics, and we feel a sense of intimidation. This is the gatekeeping I am constantly fighting against at Art & About. The truth is that creativity is not a product of your budget; it is a product of your perception.
Some of the most profound textures and unexpected visual languages are born from the mundane. When we strip away the pretension of "professional" supplies, we find ourselves forced to experiment. We stop looking for the "perfect" tool and start looking at the potential within our immediate environment. This isn't just about saving money—though that is a lovely perk—it is about expanding your visual vocabulary. By using unconventional materials, you introduce a level of spontaneity and grit that a standard brush simply cannot replicate.
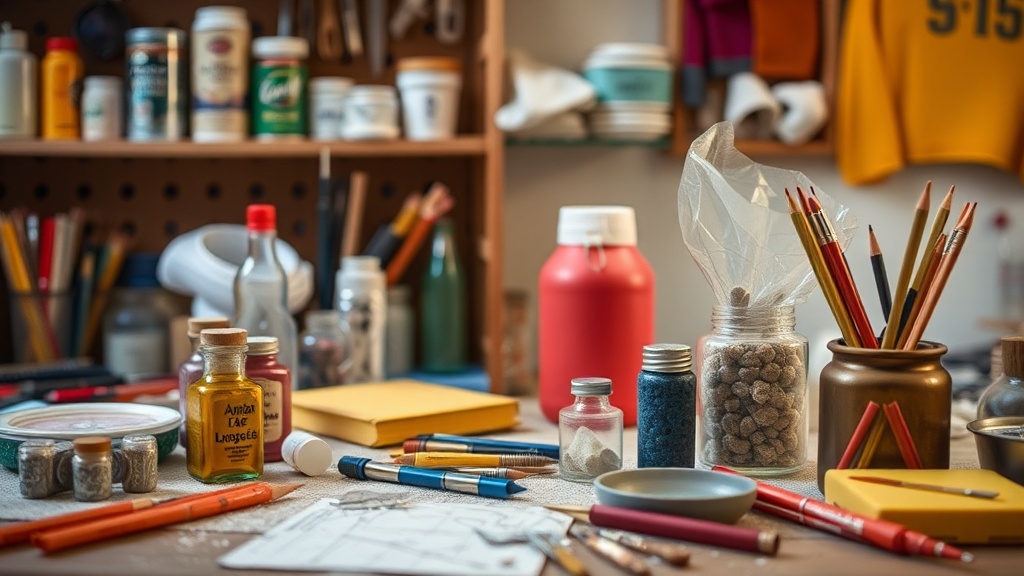
In this guide, I want to pull you away from the art supply aisle and toward your kitchen pantry or junk drawer. Let’s look at five everyday household items that can elevate your practice from basic to breathtaking.
1. The Kitchen Pantry: Coffee and Tea for Organic Washes
If you have ever felt intimidated by the complexity of professional watercolors, start with your coffee maker. Coffee, tea, and even red wine are incredible mediums for creating organic, sepia-toned washes. These liquids possess a natural translucency and a varying level of pigment density that mimics the behavior of high-end watercolor paints, but with a much more "earthy" and unpredictable character.
How to use it: Use a high-quality watercolor paper or even heavy cardstock. You can apply coffee in thin, watery layers to build up depth, or use a concentrated "syrup" of instant coffee to create dark, dramatic shadows. This technique is particularly effective when you are practicing mastering the art of glazing with watercolor, as the layering of different shades of brown and amber creates a sophisticated, aged look.
Pro-Tip: To prevent your work from looking like a mere stain, pair your coffee washes with a fine-liner pen or a small amount of white gouache. The contrast between the organic, "dirty" look of the coffee and the sharp precision of the ink creates a stunning, contemporary aesthetic. This is a wonderful way to experiment with monochromatic compositions before you dive into the complexities of mastering the art of color mixing with primaries.
2. The Bathroom Cabinet: Old Toothbrushes for Splatter and Texture
In the world of fine art, we often talk about "controlled chaos." While a brush offers control, an old toothbrush offers a delightful, rhythmic unpredictability. A toothbrush is one of the best tools for creating fine splatter effects, which can add a sense of movement, light, or even atmospheric texture to your work.
How to use it: Dip the bristles of a used (but clean) toothbrush into your paint—acrylics or watercolors work best. Hold the brush over your canvas and flick the bristles with your thumb. This creates a controlled spray of tiny dots. If you want larger droplets, use a slightly thicker paint; for a fine mist, use a watered-down wash.
This technique is a gateway to more advanced textural work. If you find yourself enjoying the way these small dots build up a surface, you might eventually want to explore mastering the art of palette knife texturing to create even more substantial, three-dimensional relief. The toothbrush allows you to bridge the gap between flat color and textured depth without needing to purchase expensive modeling pastes.
3. The Recycling Bin: Corrugated Cardboard and Bubble Wrap
Texture is often the difference between a piece that looks "flat" and a piece that feels "alive." Instead of buying expensive textured papers, look at your recycling bin. Corrugated cardboard and bubble wrap are two of the most underrated tools for adding structural interest to a composition.
How to use it:
- Corrugated Cardboard: Peel away the top layer of a cardboard box to reveal the ridges underneath. You can use these ridges as a stamp by dipping them in paint, or you can use them as a "resist" by painting over them to create a weathered, industrial look.
- Bubble Wrap: This is a classic for a reason. Paint the bubbles with a thin layer of acrylic, then press the wrap onto your paper. This creates a repetitive, geometric pattern that adds a modern, graphic quality to your work.
Using these materials encourages a "zero-waste" mindset in your creative process. Much like the principles found in zero-waste spring cleaning, incorporating found materials into your art is a way to practice sustainability while simultaneously challenging your ability to see beauty in the discarded.
4. The Junk Drawer: Sponges and Old Credit Cards
If you struggle with precision—or if you are intentionally trying to avoid it—reach for a kitchen sponge or an old, expired credit card. These tools are perfect for artists who want to move away from the "fine motor skill" dependency of a brush and toward a more gestural, expressionistic style.
How to use it:
- Sponges: A sea sponge is a classic, but a standard kitchen sponge works beautifully for creating soft, nebulous shapes. Use it to dab on paint for a soft-focus effect, or squeeze it to create a more erratic, organic texture.
- Credit Cards: This is a favorite among abstract expressionists. Load a bit of thick paint onto the edge of the card and drag it across the surface. This creates sharp, clean lines and builds up "peaks" of paint that look incredibly professional.
The credit card method is particularly effective if you want to experiment with sculptural elements. It provides a level of control over the "impasto" look that is much more accessible than professional tools. It’s a great way to practice the "controlled accident" that defines much of contemporary abstract art.
5. The Gardening Shed: Dried Leaves and Twigs
Nature is the original artist, and its "tools" are everywhere. If you want to introduce organic, unpredictable shapes into your work, look to the natural world. Dried leaves, twigs, and even small stones can be used as stamps, resists, or textural elements.
How to use it:
- Leaf Printing: Coat the underside of a leaf (the side with the prominent veins) in paint and press it onto your paper. This creates a stunning, detailed botanical print.
- Twig Brushes: Tie a bundle of twigs together or use a single, stiff twig to "paint." The irregular tips of the twigs will create a line that no synthetic brush can ever replicate.
This method connects your art to the natural cycles of the world. It’s a beautiful way to practice a more mindful, rhythmic form of creation. For those interested in the intersection of nature and color, you might find inspiration in the alchemy of indigo and natural dyeing techniques, which shows how much depth can be found in working with organic materials.
Conclusion: The Art of Seeing
The next time you feel "stuck" or like your work is lacking a certain something, don't head to the store. Instead, look around your room. The "something" you are looking for is likely hiding in plain sight—in the texture of a crumpled piece of paper, the stain of a coffee mug, or the pattern of a bubble wrap sheet.
Art is not about the perfection of the tool; it is about the intention of the artist. By embracing these unexpected household items, you are doing more than just saving a few dollars. You are breaking down the walls of the "expert" and reclaiming your right to experiment, to fail, and to create something truly unique. Go forth and make a mess—that is often where the best art begins.