6 Ways to Revive Your Dried Out Acrylic Paints

The Water Drop Method
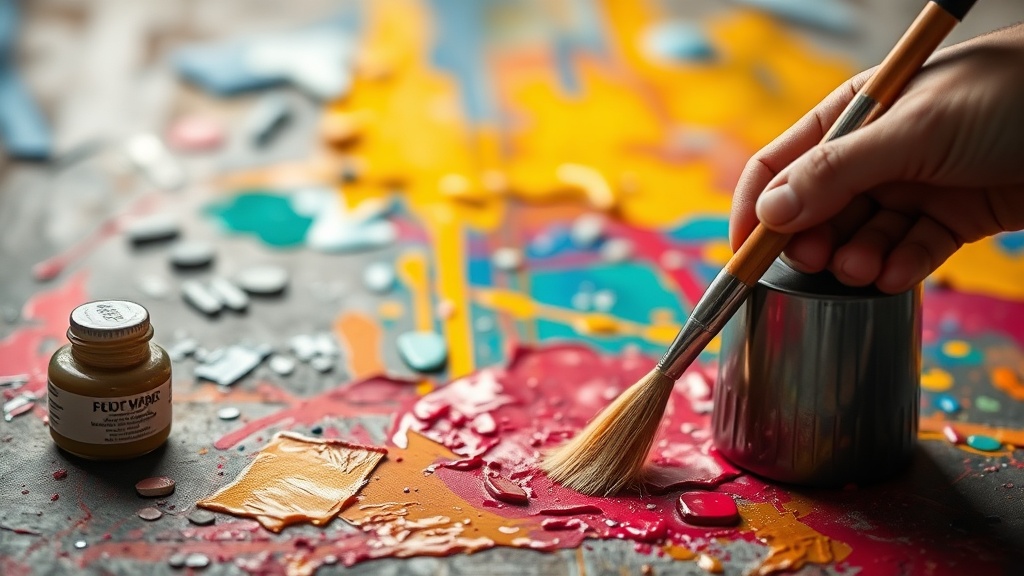
Using Acrylic Retarder
The Glycerin Trick
Warm Water Bath
Mixing with Flow Improver
The Air-Tight Seal Fix
This article explains how to identify, revive, and properly store your acrylic paints to prevent waste and save money on your art supplies. You will learn specific methods for using mediums, water, and household items to restore consistency to your palette, as well as how to distinguish between paint that is salvageable and paint that must be discarded.
Understanding the Difference Between Thickening and Drying
Before you attempt to revive a tube of paint, you must determine if the issue is a change in viscosity or a complete chemical change. Acrylic paint is a polymer emulsion; once the water evaporates and the polymer chains bond permanently, the paint is "cured" and cannot be undone. If the paint is a solid, rubbery mass or a hard film, it is dead. No amount of liquid will bring it back. However, if the paint is simply thick, tacky, or difficult to squeeze from the tube, it is likely just dehydrated and can be successfully revived.
A common mistake is assuming that all "thick" paint is ruined. Many professional-grade acrylics, such as those from Golden Artist Colors or Liquitex, are designed to be heavy-bodied. If your paint feels more viscous than usual but still moves when you squeeze the tube, it is likely just dehydrated rather than fully dried. Identifying this distinction early prevents you from throwing away perfectly good pigment.
1. Use Acrylic Retarder for Controlled Rehydration
When your paint is still somewhat workable but lacks the "flow" needed for smooth blending, an acrylic retarder is your best tool. Unlike water, which evaporates quickly, a retarder is a slow-drying additive designed to extend the "open time" of the paint. This is particularly useful when working on large canvases where you want to avoid harsh brushstrokes or visible joins between colors.
To use a retarder, such as Liquitex Acrylic Retarder, add only a tiny drop to a small amount of paint on your palette. Do not pour it directly into the tube, as this can alter the chemistry of the entire batch. Mix it thoroughly with a palette knife. The retarder works by slowing down the evaporation of the water in the emulsion, giving you more time to manipulate the paint before it sets. This is an excellent way to revive paint that has become "draggy" or difficult to spread during a long painting session.
2. Rehydrate with Distilled Water
The simplest and most common method for reviving dehydrated acrylics is the addition of water. However, using standard tap water can be problematic. Tap water often contains minerals, salts, or chlorine that can interfere with the chemical stability of the acrylic emulsion, potentially causing the paint to become brittle or change color over time. For the best results, use distilled water.
The process should be incremental. If you have a tube of Winsor & Newton acrylics that has become stiff, squeeze a small amount onto your palette first. Add one or two drops of distilled water and use a palette knife to "smear" the water into the paint repeatedly. Do not just stir it; you need to break the tension of the thickened pigment. If you add too much water at once, you risk thinning the paint so much that it loses its opacity and becomes a translucent wash. If you are looking for a more controlled way to manage liquid consistency, you might find interest in making your own watercolor paints from scratch, though the liquid management techniques are quite different.
3. Utilize Acrylic Glazing Liquids
If your paint has become thick and you want to restore its flow without losing its color intensity, a glazing liquid is the superior choice to plain water. Water thins the pigment, which can lead to a "chalky" appearance once the paint dries. A glazing liquid, such as Golden Glazing Liquid, contains a higher ratio of binder to water, allowing you to create transparent layers that maintain a professional finish.
This method is ideal for artists who want to revive the "feel" of their paint while maintaining a certain level of sheen and depth. When you add a glazing liquid, you are essentially adding more of the "glue" that holds the pigment together. This prevents the paint from looking washed out. Use this technique when you want to turn a thick, heavy-bodied paint into a fluid, transparent layer for glazing over dried sections of your work.
4. The Warm Water Soak for Stuck Lids
Sometimes the paint inside the tube is perfectly fine, but the dried pigment around the nozzle or the cap has created a vacuum or a physical seal that prevents the paint from exiting. Before you reach for the scissors to cut the tube open, try the warm water method. This is a mechanical fix rather than a chemical one.
Fill a small bowl with warm (not boiling) water. Submerge only the cap and the very tip of the tube for about five to ten minutes. The heat and moisture will soften the hardened acrylic "crust" that is blocking the opening. Once the cap is removed, you can use a toothpick or a fine needle to clear out any remaining dried bits from the nozzle. This ensures that when you do squeeze the tube, the paint flows smoothly without the annoying "clogged" sensation.
5. Use an Acrylic Flow Improver
If your paint is not just thick, but has become "short"—meaning it lacks the ability to stretch and leaves a textured, broken surface—you need a flow improver. While a retarder slows drying, a flow improver changes the surface tension of the paint to make it more fluid. Products like Liquitex Flow Improver are designed specifically for this purpose.
This is different from thinning the paint. When you use a flow improver, you are making the paint more "self-leveling." This is helpful if you are trying to revive a tube of paint that has become slightly stiff and is no longer laying down smoothly on the canvas. Use a very small amount—often just a drop or two—as over-application can make the paint too runny, causing it to lose its ability to hold shape or texture.
6. The "Last Resort" Tube Cutting Technique
When a tube of acrylic paint is nearly empty and the pressure is no longer sufficient to push the paint out, the paint often becomes stuck at the bottom or around the edges. Instead of squeezing harder and wasting energy, use the cutting method. This is the most effective way to access the "hidden" paint that has become too thick to move via standard pressure.
First, ensure you have used one of the methods above (like the warm water soak) to soften the contents. Once the paint is slightly more fluid, use a pair of sharp, heavy-duty scissors to cut the tube near the top. You will often find a significant amount of usable, high-quality pigment trapped in the "shoulder" of the tube. Squeeze the cut end of the tube onto your palette to get the last bit of paint out. To prevent the paint from drying out again, you can fold the cut end over and secure it with a small piece of painter's tape or a specialized tube crimper.
Preventing Future Dehydration
The best way to deal with dried-out paint is to prevent it from happening in the first place. Acrylics dry through evaporation, so your primary goal is to create an airtight seal. Follow these three rules to keep your palette fresh:
- Clean your nozzles: Never leave a blob of paint on the tip of your tube. Wipe it clean with a damp paper towel before capping.
- Check your seals: Ensure your caps are screwed on tight. If you use a palette tray, use a stay-wet palette system or a damp paper towel under a lid to keep the humidity high.
- Avoid heat: Do not store your acrylics near radiators or in direct sunlight, as heat accelerates the evaporation of the water in the emulsion.
By following these steps, you can extend the life of your professional-grade paints and ensure that your transition from a thick, stiff tube to a smooth, workable medium is seamless and successful.