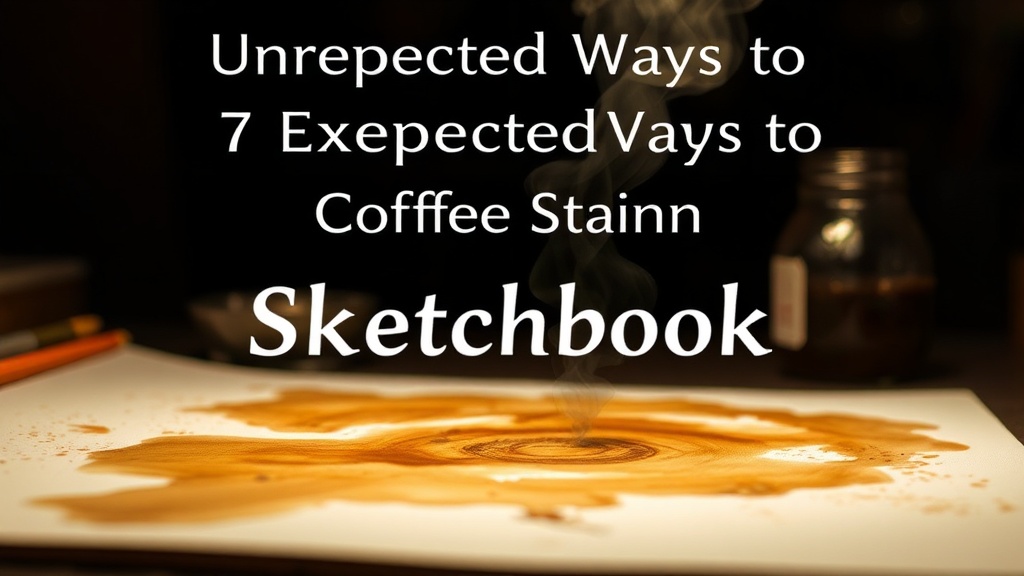
7 Unexpected Ways to Use Coffee Stains in Your Sketchbook

Creating Organic Backgrounds
The Subtle Layering Method
Using Coffee as a Wash
Coffee Ring Silhouettes
Adding High-Contrast Ink Details
Embracing Imperfection and Spills
Combining Coffee with Gold Leaf
Studies in color theory and material science suggest that the most organic, complex textures often come from unintentional chemical reactions rather than controlled pigment application. In the world of fine art, there is a long-standing tendency to view "mistakes"—like a spilled beverage—as failures. However, in contemporary mixed media practice, these accidents are actually valuable assets. This post explores how to intentionally use coffee stains as a foundational tool in your sketchbook to build texture, depth, and organic color palettes without the high cost of professional watercolors.
Using coffee in your sketchbook is not about being "messy"; it is about utilizing the tannins found in coffee to create a predictable, earth-toned base. Whether you are using a light roast like a single-origin Ethiopian or a heavy, dark roast like a Sumatran, the varying concentrations of caffeine and oils will produce different levels of transparency and edge definition. This guide provides seven specific techniques to turn a simple beverage into a sophisticated artistic medium.
1. Creating a Tonal Underpainting
Instead of starting a sketch on a stark white page, use coffee to create a mid-tone underpainting. This mimics the traditional "imprimatura" technique used by Old Masters to kill the brightness of the white paper. By applying a thin, even wash of light-roast coffee across your page, you establish a warm, sepia-toned base that makes your subsequent colors pop.
To execute this, use a large, flat synthetic brush like a Winsor & Newton wash brush. Apply the coffee in wide, sweeping motions. Once the wash is completely dry, you can use a waterproof ink pen, such as a Sakura Pigma Micron, to draw your outlines. The ink will sit on top of the dried coffee stain without bleeding, allowing you to build a structured drawing over a soft, organic background.
2. Building Layered Textures with Concentrated Drops
If you want to move beyond a flat wash and introduce more dramatic visual interest, you can use the "drop" method. This involves using varying concentrations of coffee to create depth through layering. A weak, watery solution will act as a light wash, while a highly concentrated "espresso" shot will act as a deep, dark pigment.
Start with a very diluted wash over the entire area. While the paper is still slightly damp, use a pipette or a small spoon to drop highly concentrated coffee onto specific points. The liquid will naturally bleed outward, creating a "halo" effect. This technique is particularly effective when you want to simulate organic elements like decaying leaves or weathered stone. For even more complexity, you can combine this with adding texture to watercolor washes by sprinkling sea salt onto the wet coffee spots to create crystalline, mottled patterns.
3. Using Coffee as a Monochromatic Ink
Coffee can function as a direct substitute for sepia ink in monochromatic studies. Because coffee is a translucent medium, it allows you to build value through repeated applications. This is an excellent way to practice tonal sketching without the intimidation of a full color palette.
For this technique, treat your coffee like a watercolor paint. Use a pointed round brush to build up shadows in a botanical or architectural sketch. For example, if you are sketching a piece of driftwood, use a light wash for the highlights and a thick, sludge-like coffee reduction for the deep crevices and cracks. This creates a sense of three-dimensional volume that is much harder to achieve with standard graphite or pencil alone.
4. Creating Negative Space Silhouettes
Negative space drawing is a fundamental skill in visual arts, and coffee stains provide a perfect medium for practicing this. Instead of drawing the object itself, you use the coffee to define the space around the object. This forces you to look at shapes and silhouettes rather than getting bogged down in fine detail.
Place a physical object—such as a leaf, a stencil, or even a piece of torn cardboard—on your sketchbook page. Carefully brush a coffee wash around the edges of the object. When you lift the object, you will be left with a crisp, white silhouette surrounded by a textured, sepia background. This method is highly effective for creating abstract compositions or as a base for more detailed mixed-media work.
5. Developing Mixed Media Landscapes
Coffee is an exceptional tool for creating the "atmospheric perspective" required in landscape drawing. In a landscape, objects further away appear lighter and less detailed. You can use this principle by using a very light, diluted coffee wash for your distant mountains or horizons, and progressively darker, more saturated coffee for the foreground elements.
To add a professional touch, combine the coffee wash with a fine-liner or a colored pencil. For instance, after the coffee landscape has dried, use a Prismacolor colored pencil to add subtle hints of green or blue. The way the pigment interacts with the textured, stained surface of the coffee creates a sense of depth and "air" that a clean white page simply cannot provide.
6. Mimicking Aged Parchment for Journaling
If your sketchbook includes more journaling or epistolary-style art, coffee can be used to give your pages an "antique" aesthetic. This isn't just about the color; it's about the tactile quality of the paper. As the coffee dries, it can slightly alter the texture of the paper fibers, making it look weathered and aged.
To achieve an even, aged look, use a sponge or a crumpled piece of paper to dab the coffee onto the page rather than brushing it. This creates an uneven, "foxed" appearance typical of old manuscripts. You can also use a tea bag or a coffee filter to press stains into the paper, creating localized areas of high saturation. This provides a perfect background for calligraphy or detailed botanical illustrations.
7. Experimenting with Edge Control and Hard Edges
One of the most important lessons in watercolor painting is understanding the difference between a "wet-on-wet" edge and a "wet-on-dry" edge. Coffee allows you to experiment with this without wasting expensive professional paints. A wet-on-wet application creates soft, blurry edges, while a wet-on-dry application creates hard, defined edges.
Try this: paint a circle of coffee on a damp patch of paper. Watch as the edges blur and bleed into the moisture. Then, on a different part of the page, paint a coffee shape on a completely dry surface. Notice how the edge stays sharp and crisp. Mastering this distinction is vital for anyone looking to move from amateur sketching to more intentional, controlled mixed-media art. This foundational knowledge will serve you well when you eventually transition to more expensive mediums like natural indigo dyeing or professional watercolors.
Practical Tips for Success
- Check your paper weight: Use paper that is at least 140lb (300gsm) if possible. Thin, cheap notebook paper will buckle and warp significantly when hit with liquid.
- Avoid sugar: Ensure you are using black coffee or coffee with no additives. Sugar and milk will create a sticky, unpleasant residue that can attract pests and will not dry into a clean, matte finish.
- Test your saturation: Before committing to a large area, test a small drop on the very last page of your sketchbook to see how the color develops once it is fully dry.
- Use a hairdryer: If you are working in layers, use a hairdryer on a low, cool setting to speed up the drying process. This prevents the coffee from bleeding too far into unintended areas.
By treating coffee as a legitimate artistic tool rather than a mistake, you open up a new dimension of texture and tone in your sketchbook. These techniques encourage a mindset of experimentation and help break down the barrier between "perfect" art and the beautiful, organic reality of making things by hand.