Symphony of Shadows: Creating Depth with Charcoal Smudging

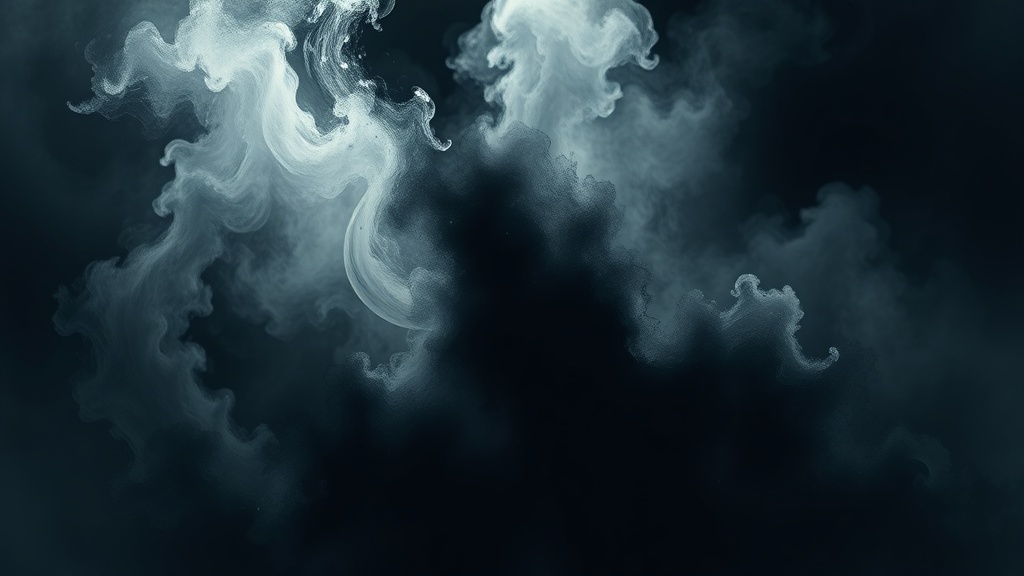
A single candle flickers on a mahogany desk, casting a long, distorted shadow that stretches across the grain of the wood. As the flame dances, the shadow doesn't just sit there; it breathes. It softens at the edges, deepens in the center, and creates a sense of volume that feels almost three-dimensional. This is the magic of light and shadow, and in the world of charcoal drawing, it is the difference between a flat sketch and a piece of art that feels alive.
Charcoal is often misunderstood as a messy, unpredictable medium. Many beginners approach a piece of vine charcoal or a compressed stick with a sense of dread, fearing the inevitable smudge. However, that "smudge" is actually your most potent tool for creating depth. Smudging—or blending—is the intentional manipulation of pigment to create gradients, soft transitions, and atmospheric perspective. It is the process of moving from hard, clinical lines to the soulful, velvety textures that make charcoal such a profound medium.
The Essential Toolkit for Depth
Before you touch the paper, you must understand that not all charcoal is created equal. Each type reacts differently to pressure and blending. To create a symphony of shadows, you need a variety of textures and densities.
- Vine Charcoal: This is the lightweight, skeletal version of charcoal. It is made from charred willow or vine branches and is incredibly easy to erase. Use this for your initial structural layouts and for very soft, light atmospheric washes.
- Compressed Charcoal: This is the heavy hitter. It is much denser and darker than vine charcoal. If you want a shadow that looks like a black hole—deep, impenetrable, and rich—this is what you reach for. It is harder to erase, so use it sparingly.
- Charcoal Pencils: These offer precision. When you need to define a sharp edge or a tiny highlight within a shadow, a charcoal pencil provides the control that a raw stick lacks.
- Blending Tools: This is where the magic happens. You should never rely solely on your fingers, as the oils in your skin can leave permanent marks on the paper. Instead, use tortillons (paper stumps), blending stumps, or even a chamois cloth for larger areas.
If you are transitioning from working with liquid mediums and find yourself struggling with texture management, you might find inspiration in exploring unconventional textures, but with charcoal, your "sculpting" is done through the pressure of your hand and the softness of your tools.
Phase 1: The Foundation of Light
Every great charcoal drawing begins with the lightest touch. If you start with heavy, dark strokes, you leave yourself no room to "carve" out the light. Think of your drawing as a sculpture where you are adding and subtracting mass.
Start by mapping out your subject using vine charcoal. Keep your strokes light and airy. At this stage, you aren't drawing a nose or a mountain; you are drawing the suggestion of shapes. Avoid hard outlines. In a truly realistic drawing, there are rarely lines—only areas of light meeting areas of shadow. By focusing on the shapes of the light rather than the borders of the object, you are practicing the concept of using negative space to shape your work.
Once your light shapes are established, identify your light source. Is it a harsh sun from the top right, or a soft lamp from the side? This decision dictates where your darkest shadows will fall and where your blending will be most aggressive.
Phase 2: Building the Mid-Tones
Once the skeleton of your drawing is in place, it is time to introduce weight. This is where you move from vine charcoal to a more stable medium. Use a soft charcoal stick to lay down the mid-tones—the areas that are neither bright light nor deep shadow.
Instead of drawing a solid block of color, use a series of hatched or cross-hatched strokes. This creates a "tooth" on the paper that will catch the pigment. Once you have laid down these strokes, take a blending stump (tortillon) and begin to work the pigment into the paper. Use small, circular motions rather than long, sweeping strokes. Circular motions prevent the creation of harsh, directional streaks and instead create a smooth, organic gradient.
Pro Tip: If you find your mid-tones look "muddy" or grey rather than rich, you likely haven't applied enough pigment. Don't be afraid to layer. Charcoal is a cumulative medium; the more layers you build, the more depth you achieve.
Phase 3: The Deep Shadow and the "Black Hole" Effect
This is the stage that separates amateurs from professionals. A common mistake is to use a medium-grey for your shadows. A shadow should feel heavy. To achieve this, reach for your compressed charcoal.
Locate the areas where the light is completely blocked—the underside of a jaw, the deep crevice of a rock, or the shadow cast by an object. Apply the compressed charcoal with intent. Because this charcoal is much more stubborn, you want to apply it in concentrated bursts.
Once the dark pigment is on the paper, use a chamois cloth to blend it. The chamois is a soft, lint-free cloth that allows you to spread the deep black over a large area with incredible softness. This creates a "gradient of darkness" that pulls the viewer's eye into the drawing. When a shadow is perfectly blended, it creates a sense of infinite depth, making the object feel as though it has actual volume and weight.
Phase 4: Carving with Light (The Eraser Technique)
In charcoal drawing, the eraser is not just a tool for fixing mistakes; it is a drawing tool in its own right. If the charcoal is your "ink," the eraser is your "white paint."
To create highlights—the glint in an eye, the sharp edge of a leaf, or the bright rim of a glass—use a kneaded eraser. A kneaded eraser is indispensable because it can be molded into a fine point. Instead of rubbing the paper (which can damage the tooth and create a messy smudge), "lift" the pigment. Press the eraser onto a dark area, lift it straight up, and you will be left with a crisp, bright highlight.
For even more precision, use a plastic or vinyl eraser. These are firmer and can be used to "carve" sharp, bright lines into a dark field. This technique is essential for creating high-contrast images (chiaroscuro) where the light feels striking and dramatic. This is the final step in creating that "symphony" of light and dark.
Troubleshooting Common Charcoal Pitfalls
Even with the best intentions, charcoal can become a chaotic mess if you aren't careful. Here are three common issues and how to resolve them:
- The "Muddy" Look: If your drawing looks like a smudge of grey soot rather than a defined subject, you are likely over-blending. Every time you blend, you flatten the texture of the paper. If you lose your definition, stop blending and go back to using a charcoal pencil to re-establish sharp edges and fine details.
- The "Ghosting" Effect: This happens when you erase a section, but a faint, messy outline remains. To prevent this, always use a clean piece of paper or a brush to sweep away excess charcoal dust before you erase. Never erase with your hand, as the oils will leave a permanent "ghost" that no amount of charcoal can cover.
- Paper Damage: If you are working on high-quality, textured paper (like Strathmore 400 Series or Canson Mi-Teintes), be careful with heavy pressure. If you press too hard with a blending stump, you can actually crush the "tooth" of the paper, making it impossible to add more pigment to that area later.
Final Thoughts: Embracing the Mess
Charcoal is a tactile, visceral medium. It requires you to get your hands a little dirty and to embrace the unpredictability of the pigment. The "perfect" smudge is rarely the result of a single stroke; it is the result of layering, lifting, and constant adjustment.
As you practice, stop looking at the lines and start looking at the values. Ask yourself: Where is the darkest dark? Where is the brightest light? And how can I bridge the gap between them? When you master the transition between these two extremes, you won't just be drawing an object—you will be capturing the very essence of light and shadow.
Steps
- 1
Lay Down Your Base Strokes
- 2
Choose Your Blending Tool
- 3
Apply Gentle Pressure for Gradients
- 4
Refine with a Kneaded Eraser