Why Your Watercolor Paper Is Warping and How to Stop It

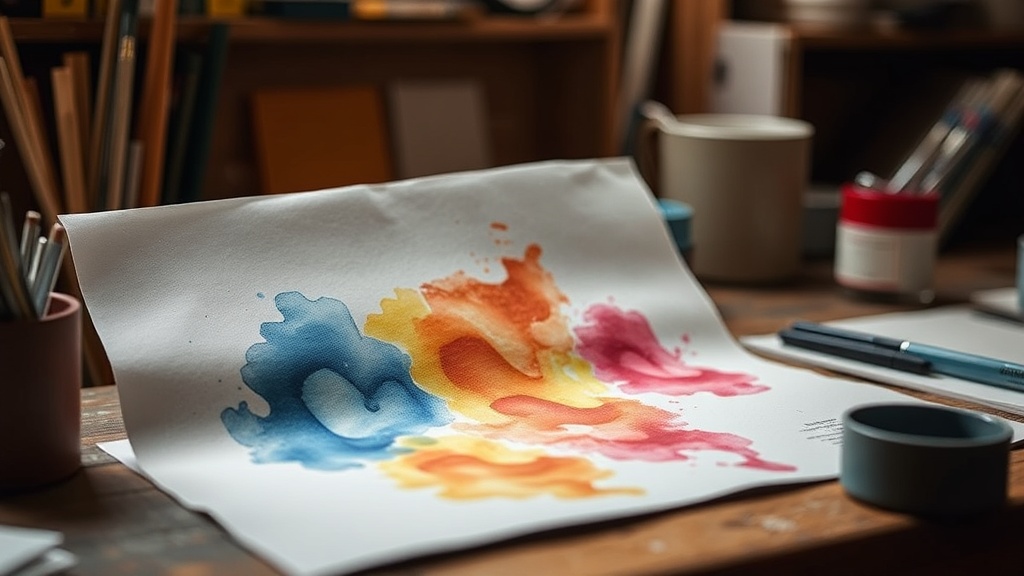
A sheet of heavy, 300gsm Arches cold-pressed paper sits on your desk, perfectly flat and pristine. You apply a large, wet wash of Cobalt Blue, and within minutes, the edges begin to curl upward, creating a miniature mountain range of buckled fiber. This warping—often called "cockling"—is one of the most frustrating hurdles in watercolor painting, but it is not an unsolvable mystery. This guide explains the mechanical reasons why your paper is buckling and provides practical, professional-grade solutions to ensure your surfaces stay flat from the first wash to the final dry.
The Science of Why Paper Warps
To stop the warping, you first have to understand the physics of what is happening to the cellulose fibers. Watercolor paper is made of organic fibers that are highly absorbent. When you introduce water, these fibers swell and expand. If the paper is not constrained or if the water is distributed unevenly, the expansion happens in different directions and at different rates, causing the sheet to bend and ripple.
The degree of warping is determined by three main factors: the weight (GSM) of the paper, the composition of the fibers, and the amount of water you are using. A 140lb (300gsm) sheet of Fabriano Artistico will behave much more predictably than a thinner 90lb (190gsm) sheet of student-grade paper. Thinner papers lack the structural integrity to hold their shape when saturated, making them almost certain to buckle during a heavy wash.
The Role of Fiber Composition
Not all paper is created equal. You will generally encounter two types of paper in the art shop: 100% cotton and wood pulp (cellulose). Cotton paper, such as the premium lines from Schmincke or Arches, is much more resilient. The long fibers in cotton can absorb large amounts of water and still maintain their structural integrity. Wood pulp paper, while more affordable, tends to warp much more aggressively because the fibers are shorter and less capable of handling high moisture levels without distorting.
Method 1: Taping and Bracing
The most common way to combat warping is to physically prevent the paper from moving. This is a technique used by professionals and hobbyists alike to create a stable working surface.
Using Masking vs. Artist Tape
Do not use standard beige masking tape from a hardware store; it is too aggressive and will tear the delicate surface of your paper when you remove it. Instead, use Gummed Artist Tape or Washi Tape. These are designed to adhere strongly enough to hold the paper down but can be removed without leaving residue or lifting the paint film.
- The Four-Side Method: Lay your paper on a flat surface (like a wooden board or a heavy desk). Apply strips of tape to all four edges, securing the paper firmly to the surface.
- The Sandwich Method: For even more control, place your paper between two sheets of heavy cardboard or a wooden drawing board. Secure the edges with tape or even small weights. This creates a "sandwich" that forces the paper to stay flat even as it expands.
- The Pre-Stretch: Before you even touch a brush to the paper, tape it down and let it sit for a few minutes. This allows the paper to "settle" into its taped position before the heavy painting begins.
Method 2: Managing Water Volume
Often, the warping is a direct result of how much water you are introducing to the sheet. If you are using a "wet-on-wet" technique, you are intentionally saturating the paper, which increases the risk of buckling.
Controlling the Ratio
If you notice your paper is buckling too quickly, you may be using too much water in your brush or your palette. Instead of a heavily loaded brush, try using a damp sponge to prep your paper rather than a soaking wet brush. This provides a controlled level of moisture that allows for a smooth wash without the sudden "flood" that triggers extreme warping.
If you find that your paper is constantly struggling with moisture, it might be helpful to review your broader ink and pigment management. For example, understanding why your ink pens keep bleeding through paper can provide a similar perspective on how liquid interacts with different paper densities and absorption rates.
Method 3: The Drying Process
Sometimes the warping doesn't happen while you are painting, but rather while the painting is drying. As the water evaporates, the fibers shrink back down. If they shrink unevenly, you end up with a wavy, uneven surface.
How to Dry Your Work Properly
- Stay Taped Until Dry: The biggest mistake is peeling the tape off while the paper is still slightly damp. If the paper is still even 10% moist, the fibers are still in flux. Wait until the paper is bone-dry to the touch before removing your tape.
- Use a Flat Surface: Never try to dry a wet watercolor painting hanging on a wall or leaning against a book. It must dry on a flat, horizontal surface to ensure the fibers settle uniformly.
- The Book Press: If your painting is dry but still has slight curls, you can place it inside a heavy book (between two sheets of clean, acid-free paper) for 24 hours. This "pressing" technique is a standard way to flatten finished works before framing.
Choosing the Right Paper for Your Style
If you consistently struggle with warping despite using these techniques, it is time to look at your paper quality. If you are working with heavy washes, you should ideally be using 100% cotton, 300gsm (140lb) paper. This is the industry standard for a reason.
If you are a beginner on a budget, you might be tempted to buy cheaper, thinner paper. While this is fine for practicing color mixing, it is not suitable for complex, multi-layered paintings. If you want to experiment with different textures and mediums, you might also be interested in making your own watercolor paints from scratch, which can give you a better understanding of how pigment density affects the moisture levels required in your work.
Quick Troubleshooting Guide
| Problem | Likely Cause | Quick Fix |
|---|---|---|
| Paper curls at edges immediately | Not enough tape or too much water at edges | Tape all four sides and use a damp sponge for prep |
| Center of paper is wavy/bubbled | Uneven water distribution | Use a larger, flatter brush for washes to distribute water evenly |
| Paper is flat while wet, but wavy when dry | Removed tape too early | Wait until the paper is completely dry before removing tape |
Final Thoughts on Paper Management
Warping is a natural part of the watercolor process, but it shouldn't dictate the quality of your final piece. By selecting high-quality, high-GSM cotton paper and utilizing the "sandwich" or "four-side" taping methods, you take control of the medium rather than letting the medium control you. Treat your paper with the respect its structure deserves, and it will provide the smooth, predictable surface you need to execute your vision.